
초보 코린이의 성장 일지
UE4 Bow Aim 본문
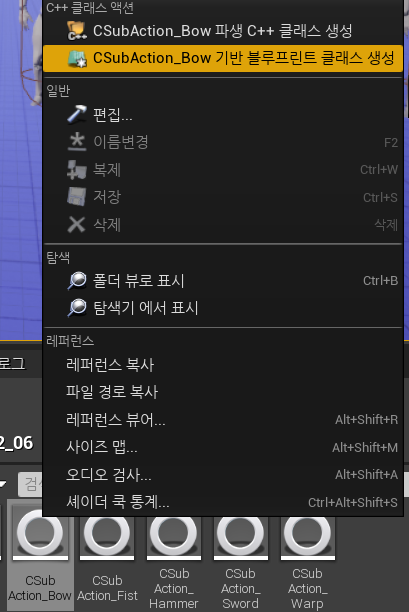
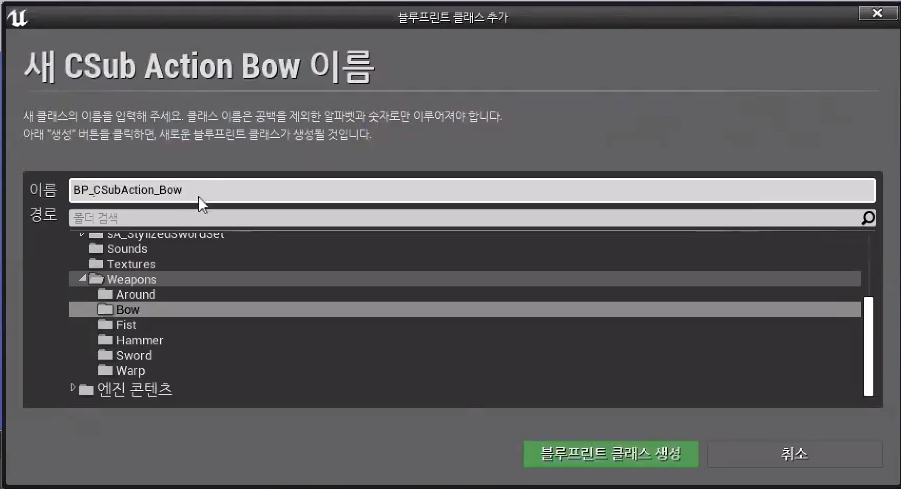
1. SubAction을 BP 클래스로 생성해준다.
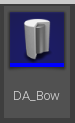
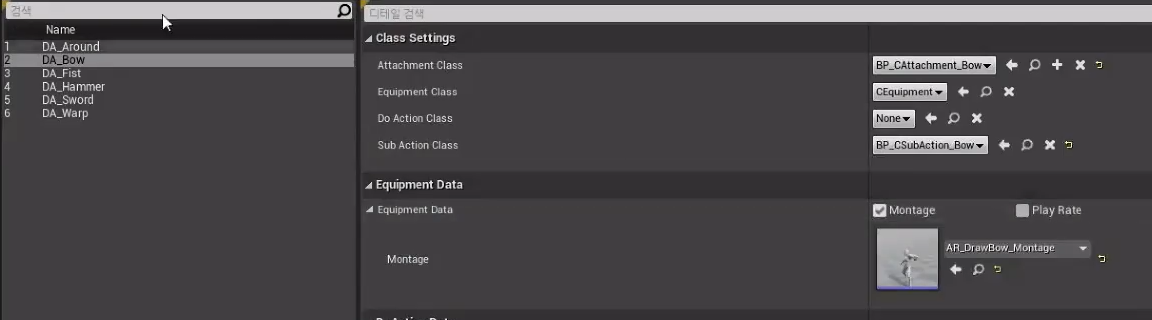
1. SubAction에 만들어준 Bow를 선택해준다.
#pragma once

#include "CoreMinimal.h"
#include "Components/TimelineComponent.h"
#include "Weapons/CSubAction.h"
#include "CSubAction_Bow.generated.h"

USTRUCT()
struct FAimData
{
    GENERATED_BODY()

public:
    UPROPERTY(EditAnywhere)
        float TargetArmLength = 100;

    UPROPERTY(EditAnywhere)
        FVector SocketOffset = FVector(0, 30, 10);

    UPROPERTY(EditAnywhere)
        bool bEnableCameraLag;

    UPROPERTY(EditAnywhere)
        FVector CameraLocation;
};

UCLASS(Blueprintable)
class U2212_06_API UCSubAction_Bow : public UCSubAction
{
	GENERATED_BODY()

private:
    UPROPERTY(EditAnywhere, Category = "Aiming")
        class UCurveVector* Curve;

    UPROPERTY(EditAnywhere, Category = "Aiming")
        FAimData AimData;

    // 커브에 20초를 줬으므로, 200으로 나누면 0.1초가 될 것이다.
    UPROPERTY(EditAnywhere, Category = "Aiming")
        float AimingSpeed = 200;

public:
    UCSubAction_Bow();

public:
    virtual void Pressed() override;
    virtual void Released() override;

public:
    void BeginPlay(class ACharacter* InOwner, class ACAttachment* InAttachment, class UCDoAction* InDoAction) override;

public:
    void Tick_Implementation(float InDeltaTime) override;

private:
    UFUNCTION()
        void OnAiming(FVector Output);

private:
    class USpringArmComponent* SpringArm;
    class UCameraComponent* Camera;

private:
    FTimeline Timeline;

};
#include "Weapons/SubActions/CSubAction_Bow.h"
#include "Components/TimelineComponent.h"
#include "Global.h"
#include "GameFramework/Character.h"
#include "GameFramework/PlayerController.h"
#include "GameFramework/SpringArmComponent.h"
#include "Camera/CameraComponent.h"
#include "Components/CStateComponent.h"
#include "Weapons/Attachments/CAttachment_Bow.h"
UCSubAction_Bow::UCSubAction_Bow()
{
CHelpers::GetAsset<UCurveVector>(&Curve, "CurveVector'/Game/Weapons/Bow/Curve_Aiming.Curve_Aiming'");
}
void UCSubAction_Bow::Pressed()
{
Super::Pressed();
Timeline.PlayFromStart(); // 타임라인 동작 시작.
}
void UCSubAction_Bow::Released()
{
Super::Released();
Timeline.ReverseFromEnd(); // 뒤집어 주기.
}
void UCSubAction_Bow::BeginPlay(ACharacter* InOwner, ACAttachment* InAttachment, UCDoAction* InDoAction)
{
Super::BeginPlay(InOwner, InAttachment, InDoAction);
SpringArm = CHelpers::GetComponent<USpringArmComponent>(InOwner);
Camera = CHelpers::GetComponent<UCameraComponent>(InOwner);
FOnTimelineVector timeline;
timeline.BindUFunction(this, "OnAiming"); // OnAiming을 콜해준다.
// 커브 Vector 사용, 매개변수 2번째에는 델리게이션이 들어간다.
Timeline.AddInterpVector(Curve, timeline);
Timeline.SetPlayRate(AimingSpeed); // 속도
}
void UCSubAction_Bow::Tick_Implementation(float InDeltaTime)
{
Super::Tick_Implementation(InDeltaTime);
// 타임라인을 동작시켜주기, 컴포넌트였다면 자기자신에 Tick이 존재하고있어 자신의 Tick 콜을 이미하고있으므로 서용 안해도된다.
Timeline.TickTimeline(InDeltaTime);
}
void UCSubAction_Bow::OnAiming(FVector Output)
{
// 이안에서 타임라인을 콜해주는게 아닌, 이 곳에 설정을 해주고 Tick에서 순간마다 콜을 해줘야한다.
//CLog::Print(Output, 1);
Camera->FieldOfView = Output.X;
}1. Aiming 기능을 만들어준다.
2. PlayFromStart를 꼭 해줘야 타임라인이 실행된다는걸 까먹으면 안된다.
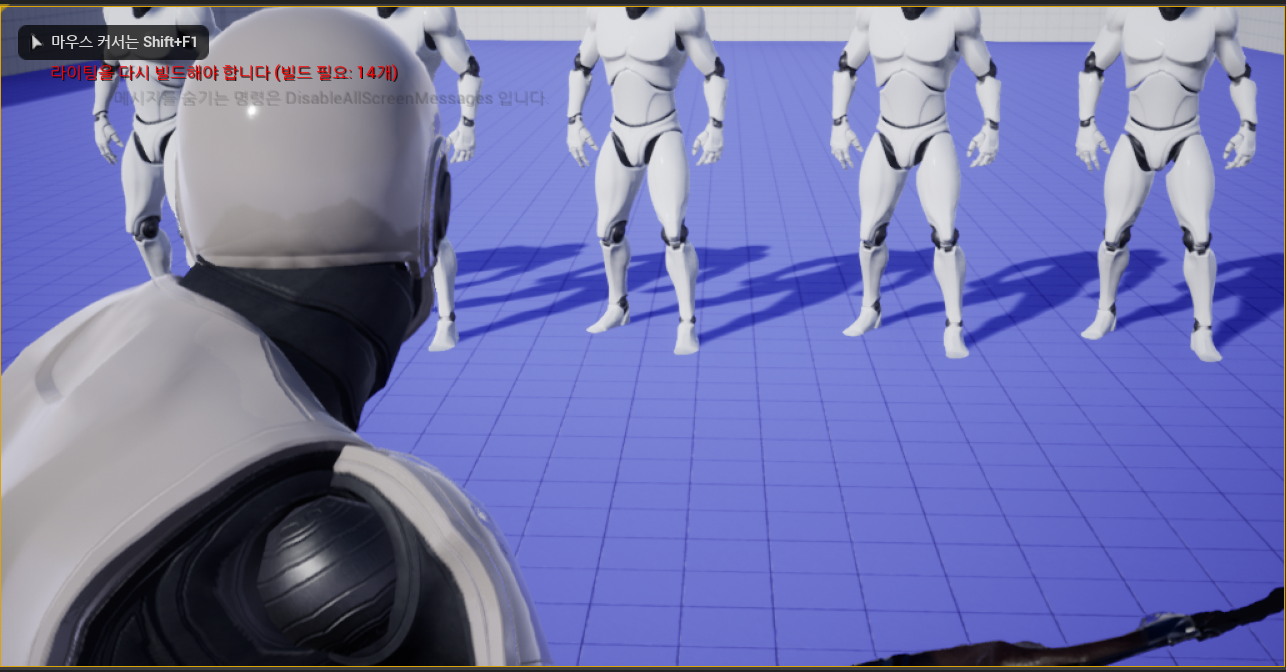
1. 포커스는 맞지 않지만 줌 기능이 되는걸 확인할 수 있다.
#pragma once

#include "CoreMinimal.h"
#include "Components/TimelineComponent.h"
#include "Weapons/CSubAction.h"
#include "CSubAction_Bow.generated.h"

UCLASS(Blueprintable)
class U2212_06_API UCSubAction_Bow : public UCSubAction
{
	GENERATED_BODY()

public:
    virtual void Pressed() override;
    virtual void Released() override;

private:
    FAimData OriginData;

};
#include "Weapons/SubActions/CSubAction_Bow.h"
#include "Components/TimelineComponent.h"
#include "Global.h"
#include "GameFramework/Character.h"
#include "GameFramework/PlayerController.h"
#include "GameFramework/SpringArmComponent.h"
#include "Camera/CameraComponent.h"
#include "Components/CStateComponent.h"
#include "Weapons/Attachments/CAttachment_Bow.h"
void UCSubAction_Bow::Pressed()
{
CheckTrue(State->IsSubActionMode());
CheckNull(SpringArm);
CheckNull(Camera);
Super::Pressed();
State->OnSubActionMode();
OriginData.TargetArmLength = SpringArm->TargetArmLength;
OriginData.SocketOffset = SpringArm->SocketOffset;
OriginData.bEnableCameraLag = SpringArm->bEnableCameraLag;
OriginData.CameraLocation = Camera->GetRelativeLocation();
SpringArm->TargetArmLength = AimData.TargetArmLength;
SpringArm->SocketOffset = AimData.SocketOffset;
SpringArm->bEnableCameraLag = AimData.bEnableCameraLag;
Camera->SetRelativeLocation(AimData.CameraLocation);
Timeline.PlayFromStart(); // 타임라인 동작 시작.
}
void UCSubAction_Bow::Released()
{
CheckFalse(State->IsSubActionMode());
CheckNull(SpringArm);
CheckNull(Camera);
Super::Released();
State->OffSubActionMode();
SpringArm->TargetArmLength = OriginData.TargetArmLength;
SpringArm->SocketOffset = OriginData.SocketOffset;
SpringArm->bEnableCameraLag = OriginData.bEnableCameraLag;
Camera->SetRelativeLocation(OriginData.CameraLocation);
Timeline.ReverseFromEnd(); // 뒤집어 주기.
}1. 키가 눌렸을 때 땡겨지고, 풀었을때 다시 원래대로 돌려주면서 줌 효과를 더 자세하게 만들어준다.
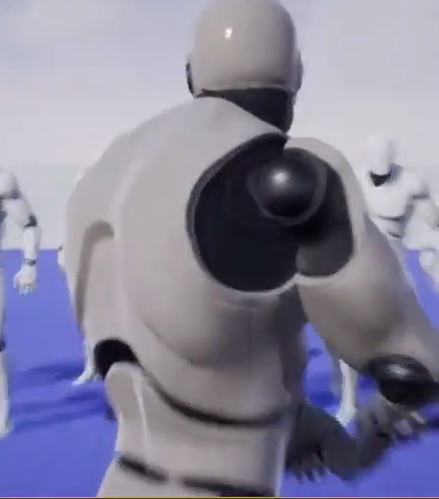
1. 몸체에서가 아닌 약간 사선으로 틀어져서 줌이 되는걸 확인할 수 있다.

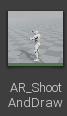
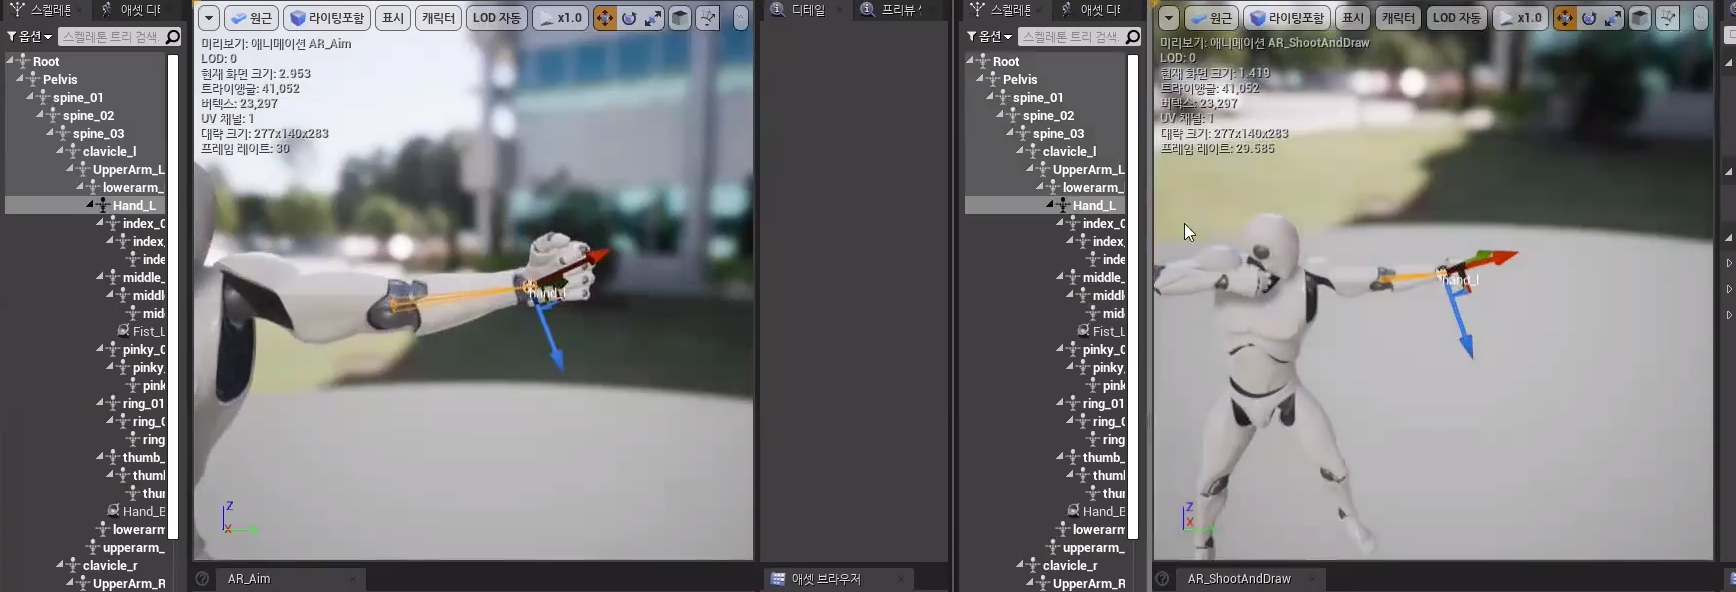
1. 에임 동작과 쏘는 동작 2가지가 있다. 얼추 보기에는 비슷해 보일지 모르지만 자세하게 보면 손목 각도가 조금 다르다
2. 이 두 동작을 자연스럽게 섞어서 사용하면, 활을 당겨서 화사를 쐇을때 이질감이 없이 자연스럽게 이어지는 효과가 나온다.
1. ShootAndDraw를 복사해서 AR_Aim2로 하나 생성해준다.
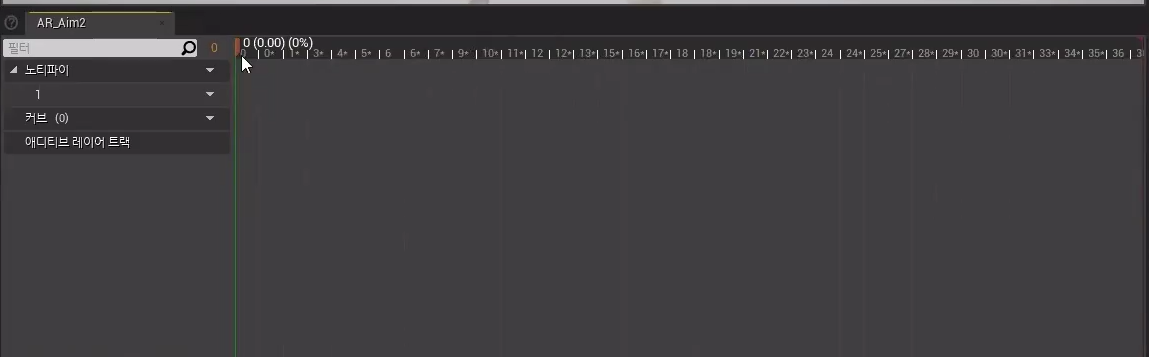
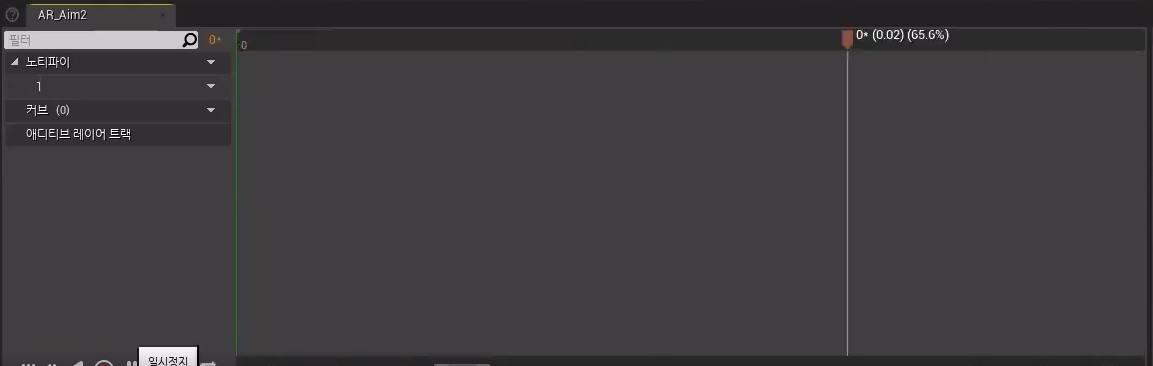
1. AR_Aim2에 애니메이션을 1프레임만 남기고 나머지를 다 제거해준다.
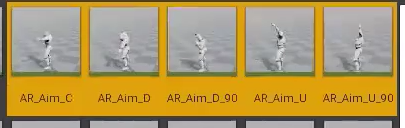
1. 에임 오프셋을 사용하기 위해 바꿔줄 애니메이션들은 위에 사진과 같이 5개를 사용할 것이다.
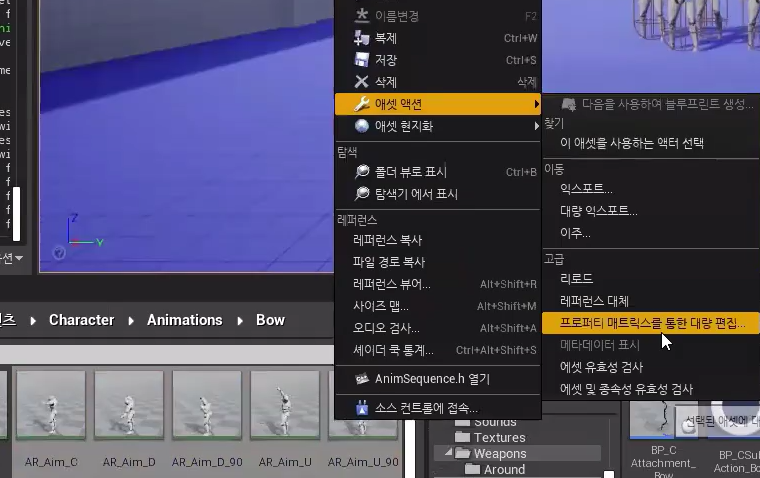
1. 한번에 편집을 해주기 위해, 에셋 액션 -> 프로퍼티 매트릭스를 통한 대량 편집을 눌러준다.

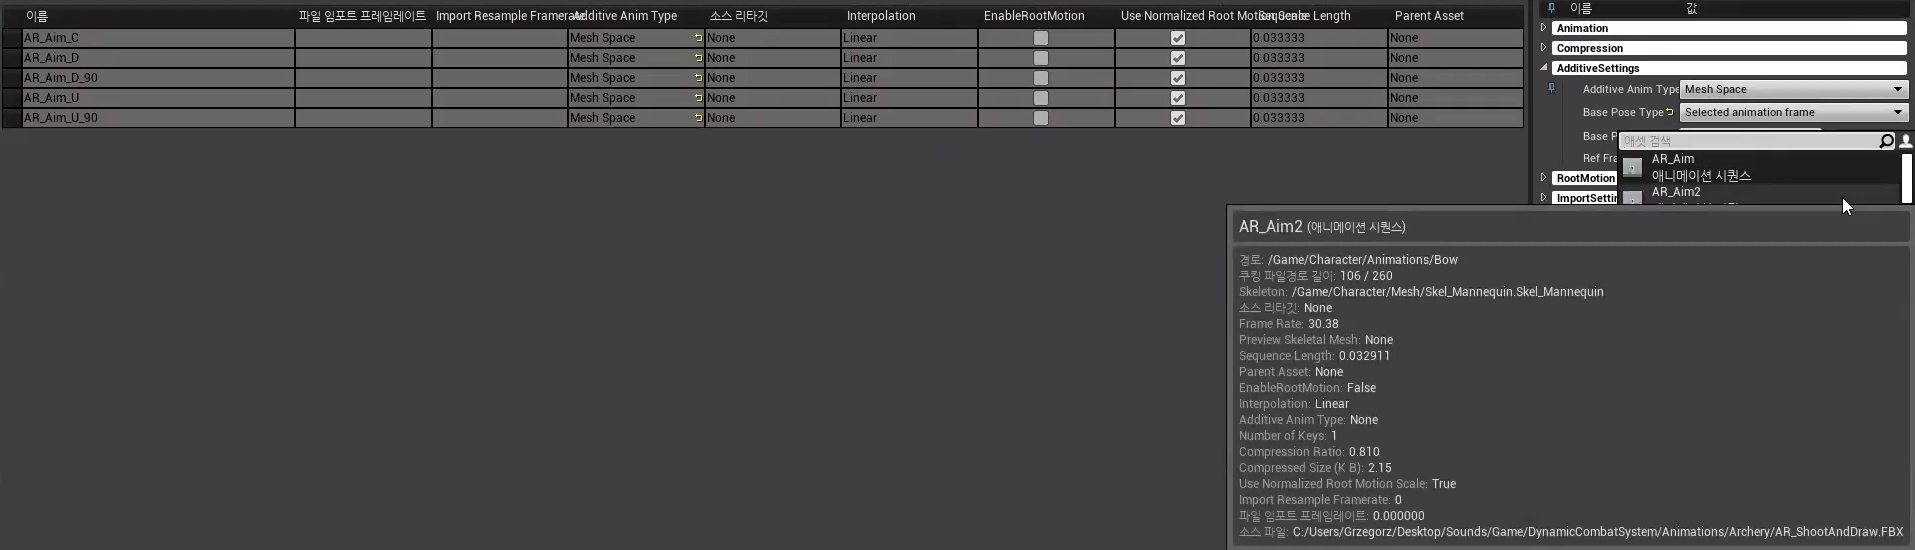
1. 왼편에 있는 5개 애니메이션을 전부 선택한 후, 우측 상단에 Base Pose를 AR_Aim2로 선택해준다.
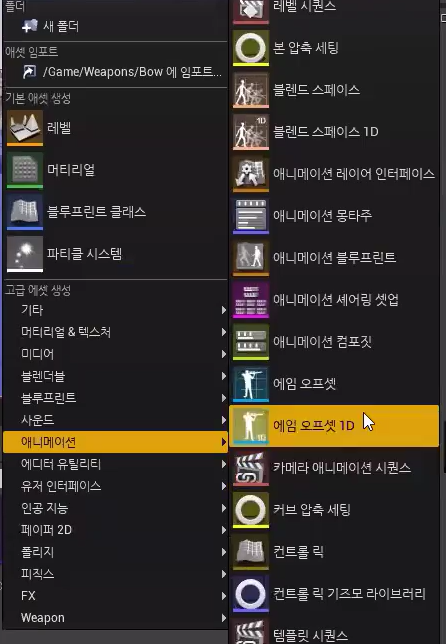
1. 에임 오프셋1D로 생성해준다.
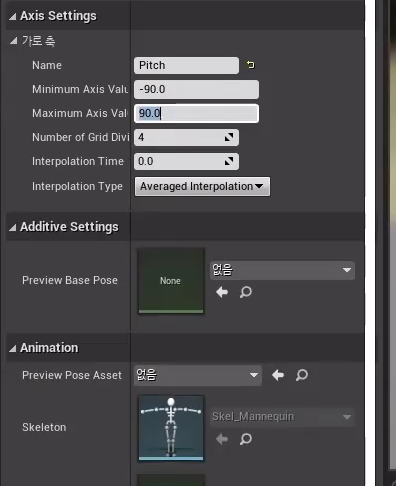
1. 각도는 -90 ~ 90로 설정
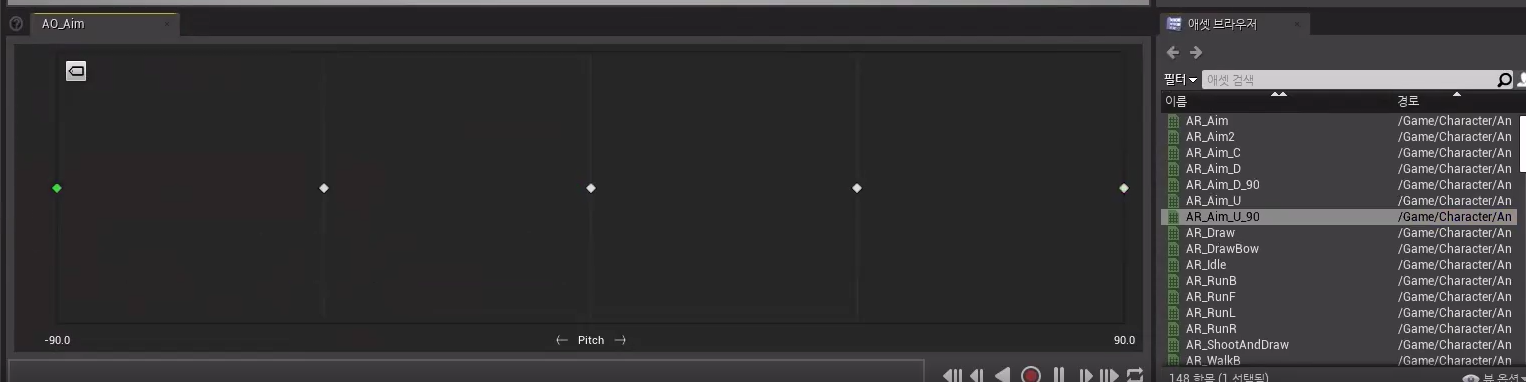
1. 왼쪽 끝에부터 AR_Aim_D90 / AR_Aim_D / AR_Aim_C / AR_Aim_U / AR_Aim_U90 순서로 배치해준다.
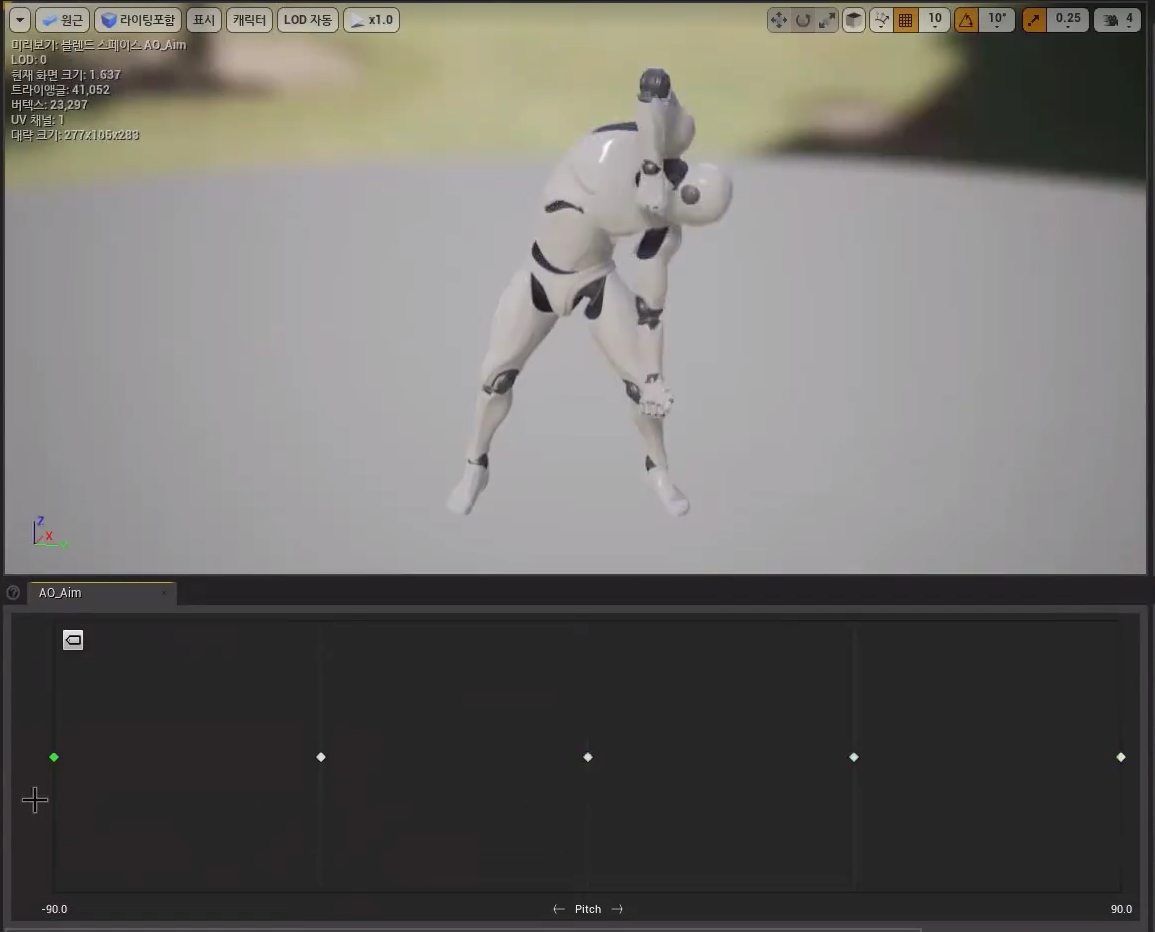
1. 각도 그대로 왼쪽 끝에 둘 경우 아래를 바라보도록 애니메이션이 나오게된다.
#pragma once

#include "CoreMinimal.h"
#include "Animation/AnimInstance.h"
#include "Components/CWeaponComponent.h"
#include "CAnimInstance.generated.h"

UCLASS()
class U2212_06_API UCAnimInstance : public UAnimInstance
{
	GENERATED_BODY()

public:
	void NativeUpdateAnimation(float DeltaSeconds) override;

protected:
	UPROPERTY(BlueprintReadOnly, Category = "Animation")
		bool bBow_Aiming;

};
#include "Characters/CAnimInstance.h"
#include "Global.h"
#include "GameFramework/Character.h"
#include "Weapons/CSubAction.h"
void UCAnimInstance::NativeUpdateAnimation(float DeltaSeconds)
{
Super::NativeUpdateAnimation(DeltaSeconds);
CheckNull(OwnerCharacter);
Speed = OwnerCharacter->GetVelocity().Size2D();
FRotator rotator = OwnerCharacter->GetVelocity().ToOrientationRotator();
FRotator rotator2 = OwnerCharacter->GetControlRotation();
FRotator delta = UKismetMathLibrary::NormalizedDeltaRotator(rotator, rotator2);
PrevRotation = UKismetMathLibrary::RInterpTo(PrevRotation, delta, DeltaSeconds, 25);
Direction = PrevRotation.Yaw;
Pitch = UKismetMathLibrary::FInterpTo(Pitch, OwnerCharacter->GetBaseAimRotation().Pitch, DeltaSeconds, 25);
CheckNull(Weapon);
if (!!Weapon->GetSubAction())
{
bBow_Aiming = true;
bBow_Aiming &= WeaponType == EWeaponType::Bow;
bBow_Aiming &= Weapon->GetSubAction()->GetInAction();
}
}1. 아래 조건 체크를 bBow_Aiming로 체크를 해줄 것이다.
#pragma once

#include "CoreMinimal.h"
#include "UObject/NoExportTypes.h"
#include "CSubAction.generated.h"

UCLASS(Abstract) // 기능이 없으므로, 할당 x
class U2212_06_API UCSubAction : public UObject
{
	GENERATED_BODY()
public:
	FORCEINLINE bool GetInAction() { return bInAction; }

public:
	// BP랑 상호연동 가능하도록,
	// BlueprintNativeEvent로 정의하면 Implementation 붙여주기
	UFUNCTION(BlueprintNativeEvent)
		void Begin_SubAction();
	virtual void Begin_SubAction_Implementation(); // 자식에서 필요한데로 재정의해서 사용

	UFUNCTION(BlueprintNativeEvent)
		void End_SubAction();
	virtual void End_SubAction_Implementation();

protected:
	bool bInAction;

};
#include "CSubAction.h"
#include "Global.h"
#include "GameFramework/Character.h"
#include "Components/CStateComponent.h"
#include "Components/CMovementComponent.h"
#include "Components/CapsuleComponent.h"
void UCSubAction::Begin_SubAction_Implementation()
{
bInAction = true;
}
void UCSubAction::End_SubAction_Implementation()
{
bInAction = false;
}1. true,, false로 체크를 해서 넘겨준다.
1. 에이밍인지 아닌지에 따라 동작을 바꿔줘야한다.
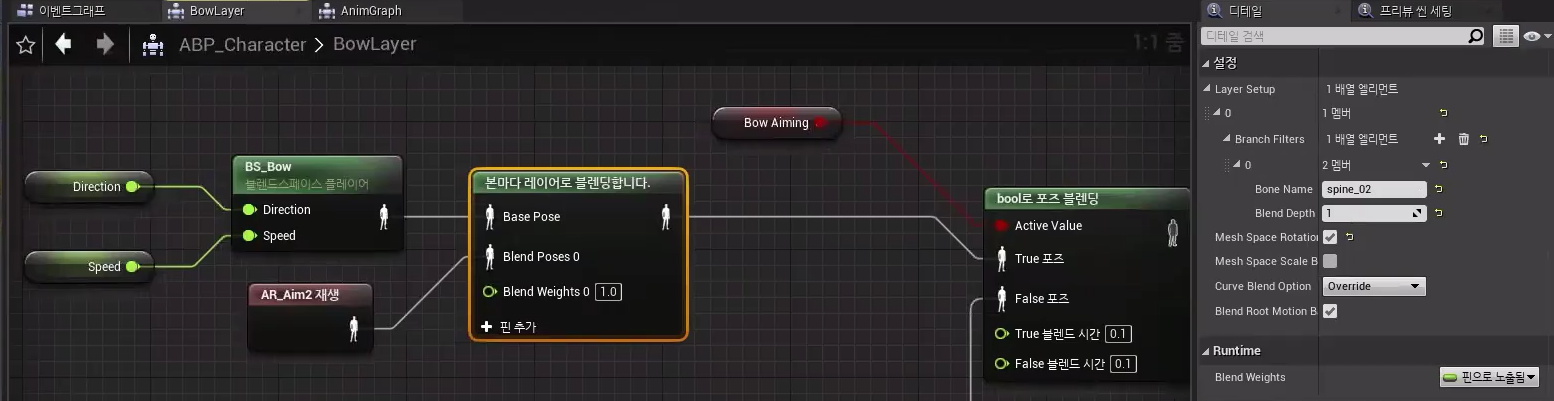
1. AR_Aim2를 재생하는 블렌딩은 상체를 나타낸다.
2. 본마다 레이어 블레딩 우측 설정에 Boon Name를 상체 spine_02로 설정해준다.
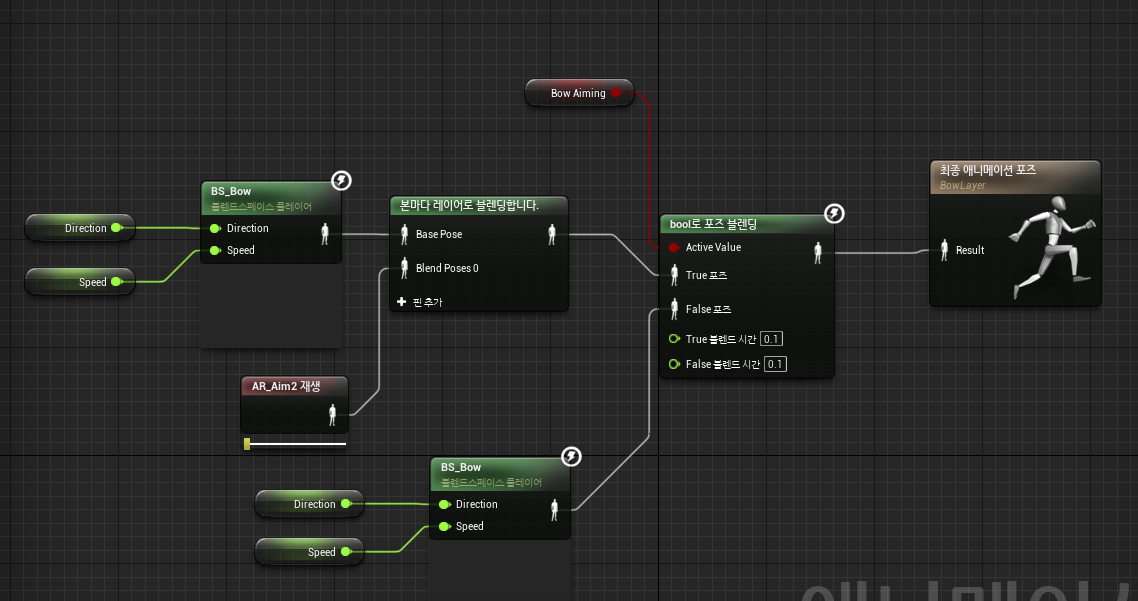
1. 최종으로 모션을 연결시켜준다.
https://www.youtube.com/watch?v=qEnxi_0eVx4
'언리얼' 카테고리의 다른 글
| UE4 Bow Aim Bend (0) | 2023.07.10 |
|---|---|
| UE4 Bow Aim (2) (0) | 2023.07.07 |
| UE4 Weapon Bow (0) | 2023.07.05 |
| UE4 SubAction Around Skill (0) | 2023.07.04 |
| UE4 SubAction Around Skill (0) | 2023.07.03 |


